November 22, 2024, 03:56:09 PM

Author Topic: Some E7 build photos and notes  (Read 6974 times)

Offline HelliYea

  • Newbie
  • *
  • Posts: 45
Some E7 build photos and notes
« on: December 12, 2011, 05:23:09 AM »
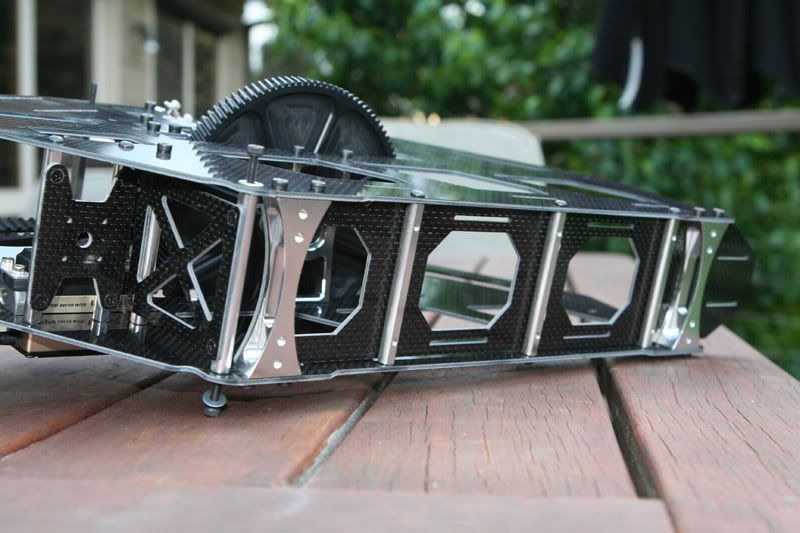
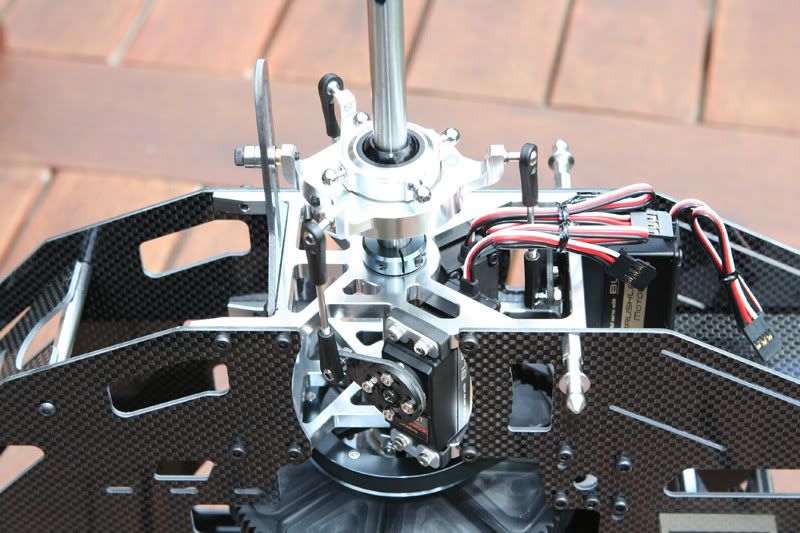
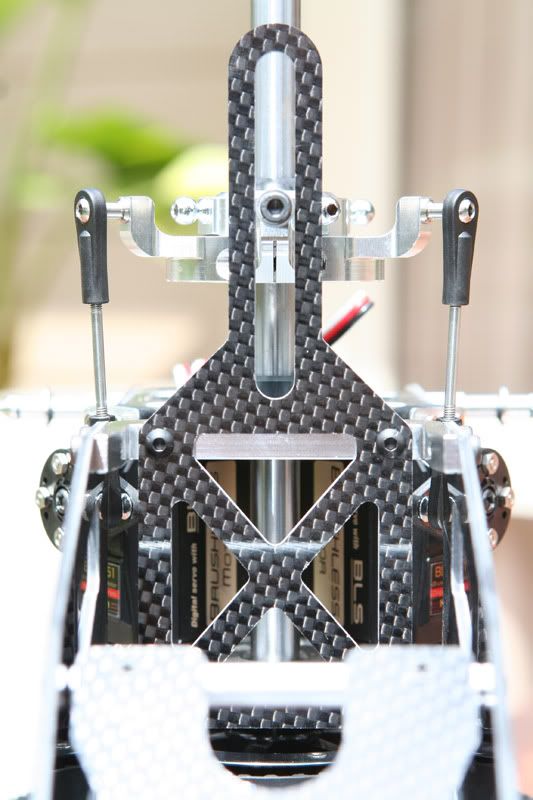
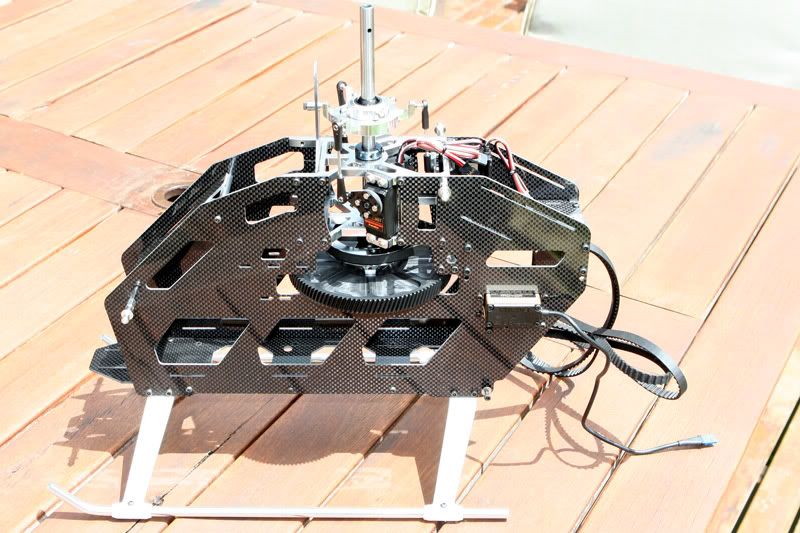
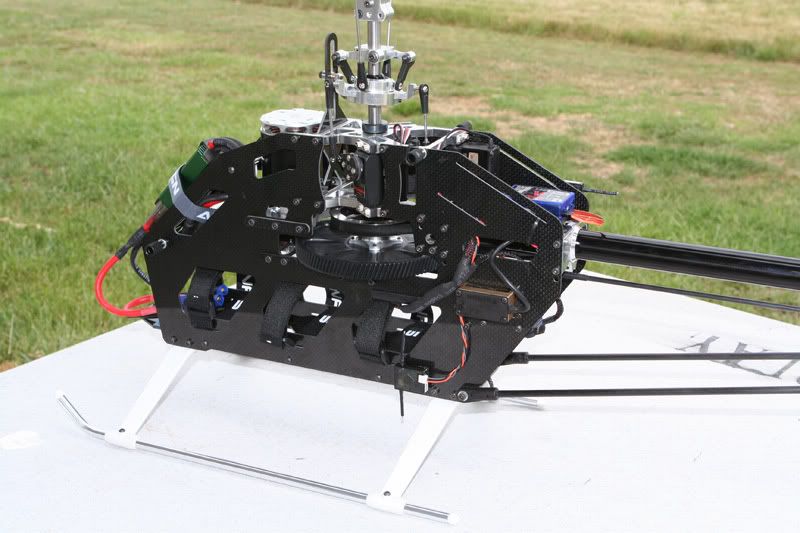
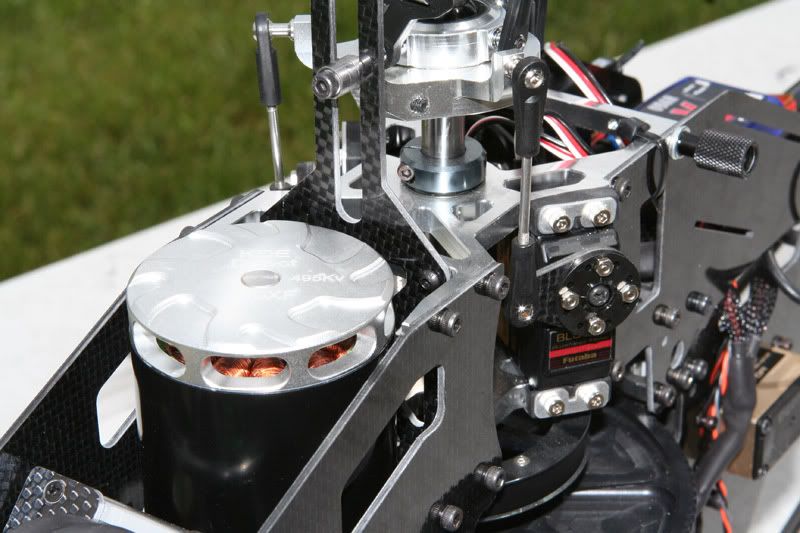
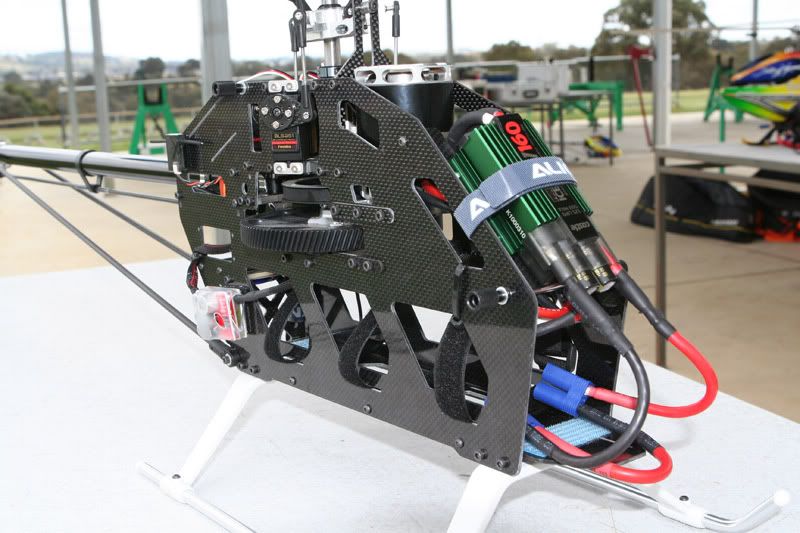
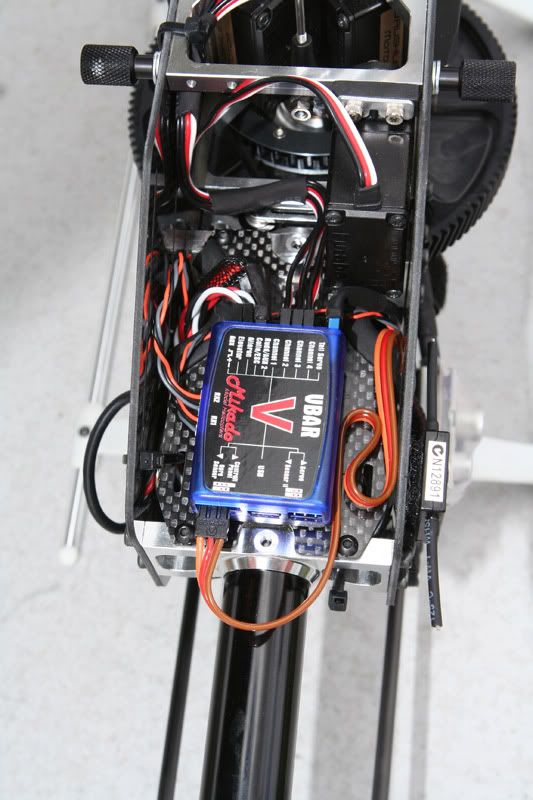
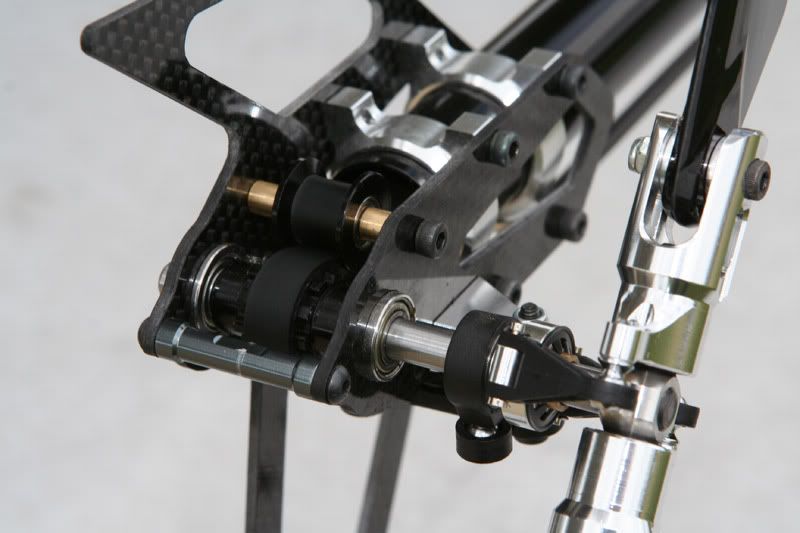
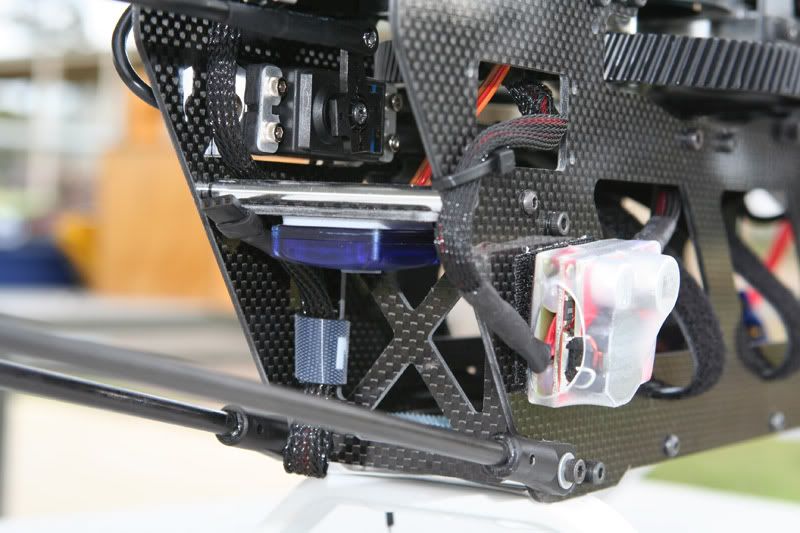
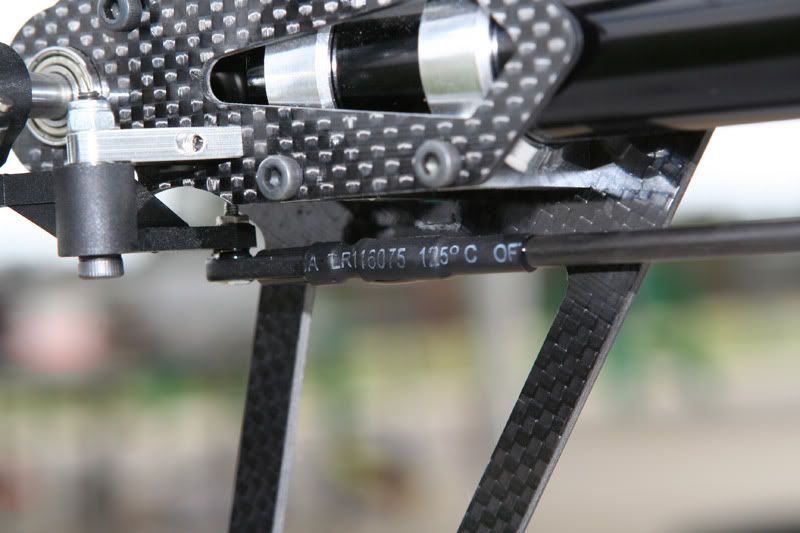
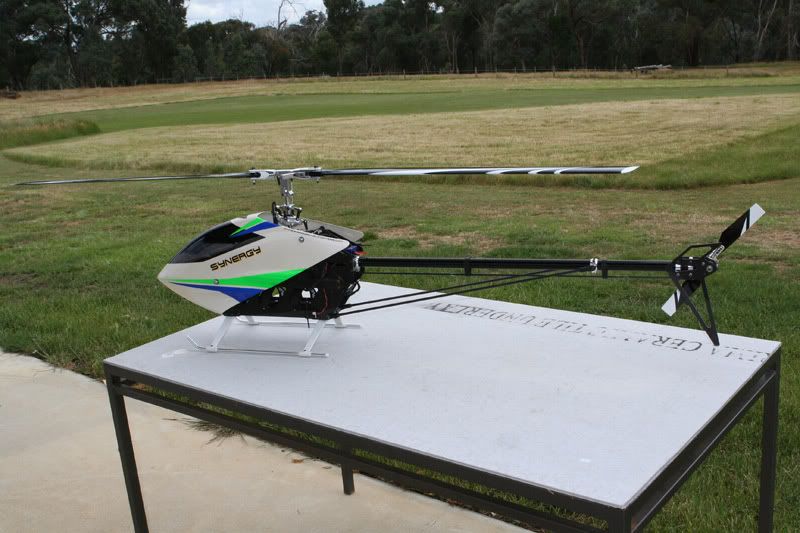
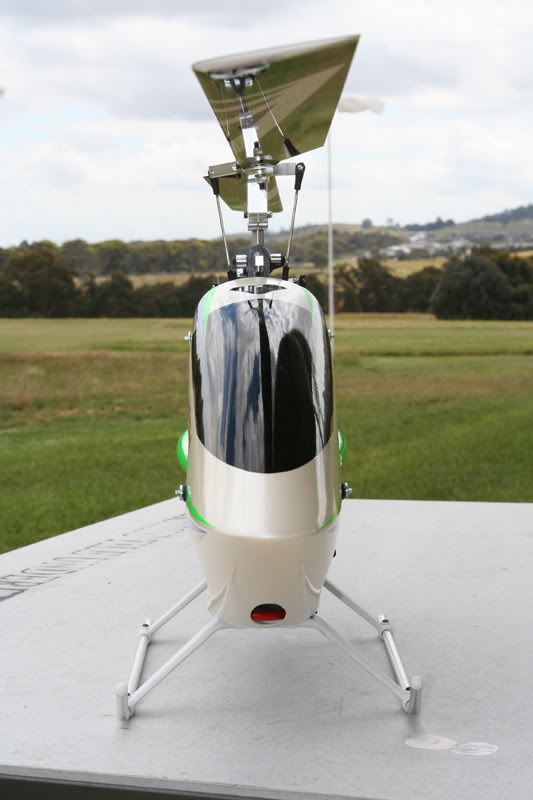
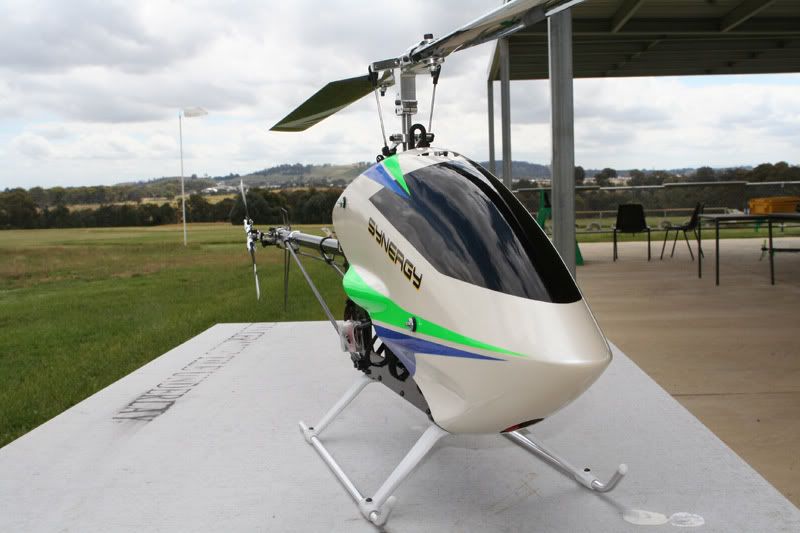
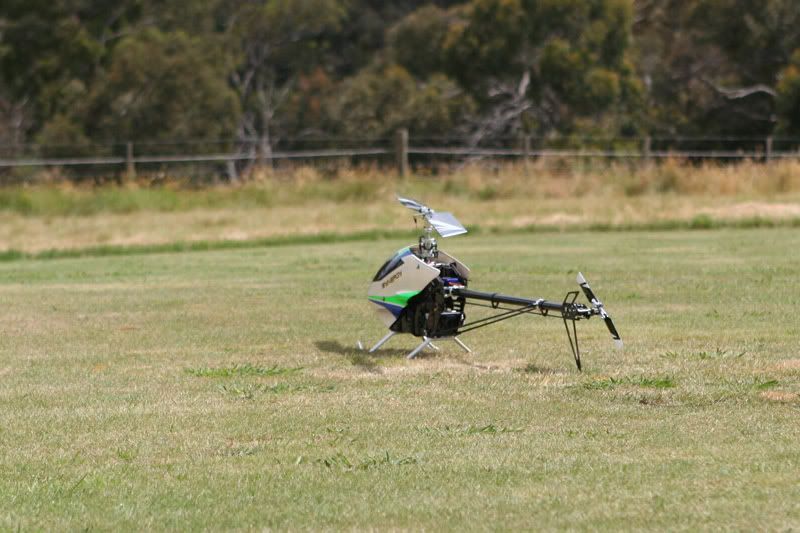
Thought I'd post a few E7 build shots and notes (thanks for some of the tips from others on this forum) on the build.  Note this is not a full-on build thread...

*  The quality of the kit is awesome
*  Clean out the one-way and oil it until it spins freely.  I originally greased mine and it felt notchy until I was advised by those in the know to clean it out and use oil.  Much better now
*  The screws that attach the auto hub to the main gear already had threadlock, as did the screws making up the belit drive in the transmission.  I have pulled all other pre-assembled parts apart and applied threadlock
*  When attaching parts to the main frame, note that the screws attaching the lower bearing block and belt idler are M3x8.  All the others are M3x6
*  My one-way was reversed so I had to flip my main gear and insert the auto hub from the other side as advised on the Synergy support forum - easy fix
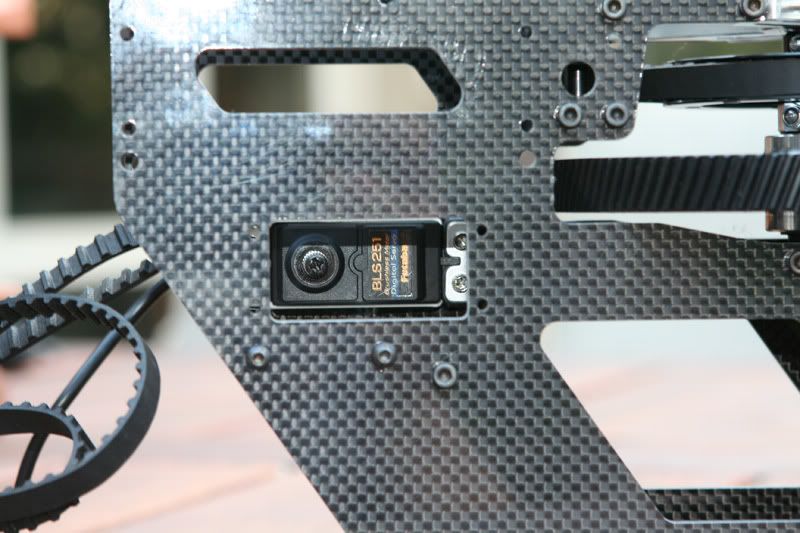
*  There is good access to the tail servo to install the servo arm later in the build
*  The M3x16 socket head is for the boom supports
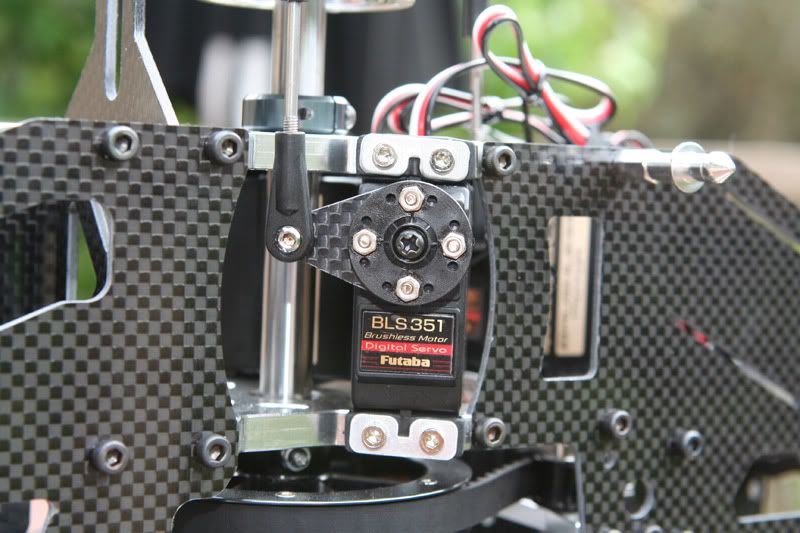
*  Plug the servos into a receiver before mounting to find the best horn position
*  There is a smaller and larger diamater hole in the ball links so make sure they go on the correct way
*  The thrust bearings in my kit were assembled incorrectly, so definitely redo the head and grease the thrust bearings.  They are a very tight fit so heat them first
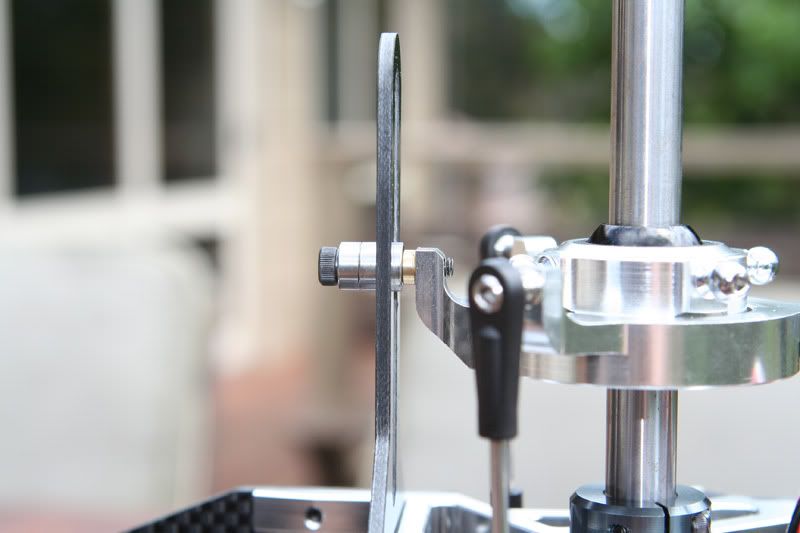
*  A good tip for ensuring no phasing is to flip the washout link up and centre it on the slit in the head block (thanks Churchy)
*  Set the motor pinion height before attaching the ESC tray.  It is hard to access otherwise
*  If you plan on running wires inside the frames, dremmel out some of the radio plate tray sides to allow wires to travel from the bottom to the top
*  Be careful when CAing the boom support ends to the boom support.  They stick quickly so you do not want them twisted
*  According to Matt B, you want to install the tail ouput shaft with at least 4 or 5 mm sticking out of the tail box assembley
*  When installing the tail push rod, first put the two ball links on a rod and screw them down.  Then unscrew them and install.  This loosens them up and makes it easier to make adjustments without breaking the glue bond
*  Also on the tail rod, glue in one end, let it set and attach it to the tail servo and then glue the tail end during the vbar setup.  This way you can glue the tail end in the exact location with no need to make any link adjustments


Thats it for now


Offline steffgiguere

  • Field Representative
  • Synergy Hero
  • ****
  • Posts: 1373
Re: Some E7 build photos and notes
« Reply #1 on: December 12, 2011, 07:44:22 AM »
Very nice pictures, is that your job?
Team Synergy, Canada

Offline seldred

  • Sr. Member
  • ****
  • Posts: 327
Re: Some E7 build photos and notes
« Reply #2 on: December 12, 2011, 09:10:42 AM »
Great pics! Looks like you did an excellent job on the build  ;D Let us know how the first few flights go

Offline Kevin Feil

  • Factory Specialist
  • Synergy Hero
  • *****
  • Posts: 2100
Re: Some E7 build photos and notes
« Reply #3 on: December 12, 2011, 11:24:05 AM »
DAMN NICE PIC'S, +1 for Steve! good luck on the Maiden.

Kevin
Team Synergy
Team Futaba
Team Scorpion
Team Morgan Fuels

Offline Chris Sexton

  • Factory Specialist
  • Synergy Hero
  • *****
  • Posts: 2729
  • Admiral, There be whales here!
Re: Some E7 build photos and notes
« Reply #4 on: December 12, 2011, 12:03:53 PM »
Great pictures, and great information.
Chris Sexton
Synergy Factory Specialist / Rail Blades / Team Scorpion

Offline JVZ

  • Member
  • **
  • Posts: 78
Re: Some E7 build photos and notes
« Reply #5 on: December 12, 2011, 08:35:19 PM »
That's one hell of a camera! Nice pics! Great info

Offline HelliYea

  • Newbie
  • *
  • Posts: 45
Some E7 build photos and notes
« Reply #6 on: December 13, 2011, 02:11:41 AM »
Thanks guys.  I have an interest in photography and a great lens which helps a lot.  I have got some more bench testing to do this week so sort out some vbar log irregularities then a maiden on the weekend.  I'll post some pictures of her in the air then.  Cheers.

Offline heybritishguy

  • Newbie
  • *
  • Posts: 1
Re: Some E7 build photos and notes
« Reply #7 on: January 19, 2012, 09:36:06 AM »
very clean mate and a very good camera too ;D

Offline Matt Botos

  • Synergy Hero
  • **
  • Posts: 1573
    • Matt Botos
Re: Some E7 build photos and notes
« Reply #8 on: January 20, 2012, 12:45:50 AM »
I'm going to have you start writing my build manuals. :)

Very nice work!

Matt

Offline HelliYea

  • Newbie
  • *
  • Posts: 45
Re: Some E7 build photos and notes
« Reply #9 on: January 27, 2012, 04:09:33 AM »
Just a quick update on my Synergy E7 story with a happy ending.

Original setup with 3 test flights


Motor changed to a Hacker and test flown OK.  Christmas eve flight number 6 and Cremation on spoolup .... :(:(:mad::mad:


No damage other than the speedie.  Ordered a new Scorp Commander 130A with the USB cable and the Opto Cable for vbar gov


I now have 4 flights with this new setup and I am LOVING it.  I was kinda scared of setting up the vbar gov but with this speedie, the opto cable, the instructions and Mr Mels vid it was very simple (plus some help from Costas - cheers).  I'm running the internal BEC at 6.2 V and the gov at max 2200, with all default values.  There is some tweaking of the gov still to do, as it is overspeeding when I go from full pitch to reduced pitch, but is handles pitch pumps very well.  Im very happy that it is all sorted before Wagga.


Offline litespeed

  • Field Representative
  • Full Member
  • ****
  • Posts: 163
Re: Some E7 build photos and notes
« Reply #10 on: January 27, 2012, 05:41:54 AM »
Very cool! Bummer on the fire though....wonder if they are ever going to get past that?

Tom

Offline Kris Schneider

  • Newbie
  • *
  • Posts: 11
Re: Some E7 build photos and notes
« Reply #11 on: January 27, 2012, 06:28:12 PM »
Great pics and glad it's working for you.

1 question though... Why did you switch from the KDE?  Just curious as that is what I am putting in my E7 with a CC 160 also.  I've been trying to find others with this setup and supposedly there are some, just having a time trying to find them to ask about their setups.

Kris

Offline HelliYea

  • Newbie
  • *
  • Posts: 45
Re: Some E7 build photos and notes
« Reply #12 on: January 27, 2012, 10:02:21 PM »
Sometimes I just think you get a dud unit.  Just bad luck.

I originally setup the KDE motor and maidened about 2 weeks before Christmas.  When I checked the vbar logs, there were some irregularities that suggested static - which was unusual for the E7.  Whilst sorting this out, I noticed some play in the motor shaft which could have caused the problems, so I pulled the motor out and took it back to the shop I got it from to sort out the play in the shaft.  Because I was planning on flying lots over Christmas I needed a replacement motor asap, so got the Hacker from a local supplier.  I also wanted to confirm that the vbar irregularities were not because of a dud vbar, which was also brand new.  A few flights with the Hacker and the cremation happened - although my logs were clean and perfect with the Hacker.

I will definitely put the KDE motor back in at some stage - probably with the replacement CC 160 speedie.  That said, I'll probably wait until the new CC firmware is released (http://helidaily.com/cool-video-testing-new-cc-ice2-firmware-with-the-kde700xf-495-motor/).

If using this motor I'd definitely check your logs for any irregularities and possibly ground the motor to the boom. 

Cheers,

Gary.

Offline JVZ

  • Member
  • **
  • Posts: 78
Re: Some E7 build photos and notes
« Reply #13 on: January 28, 2012, 03:02:12 AM »
Gary,

What are the smaller red wires coming off your esc battery leads by the heat shrink?

Offline HelliYea

  • Newbie
  • *
  • Posts: 45
Some E7 build photos and notes
« Reply #14 on: January 28, 2012, 04:09:28 AM »
The Scorp speedy has a spark arrestor on the positive power lead.